
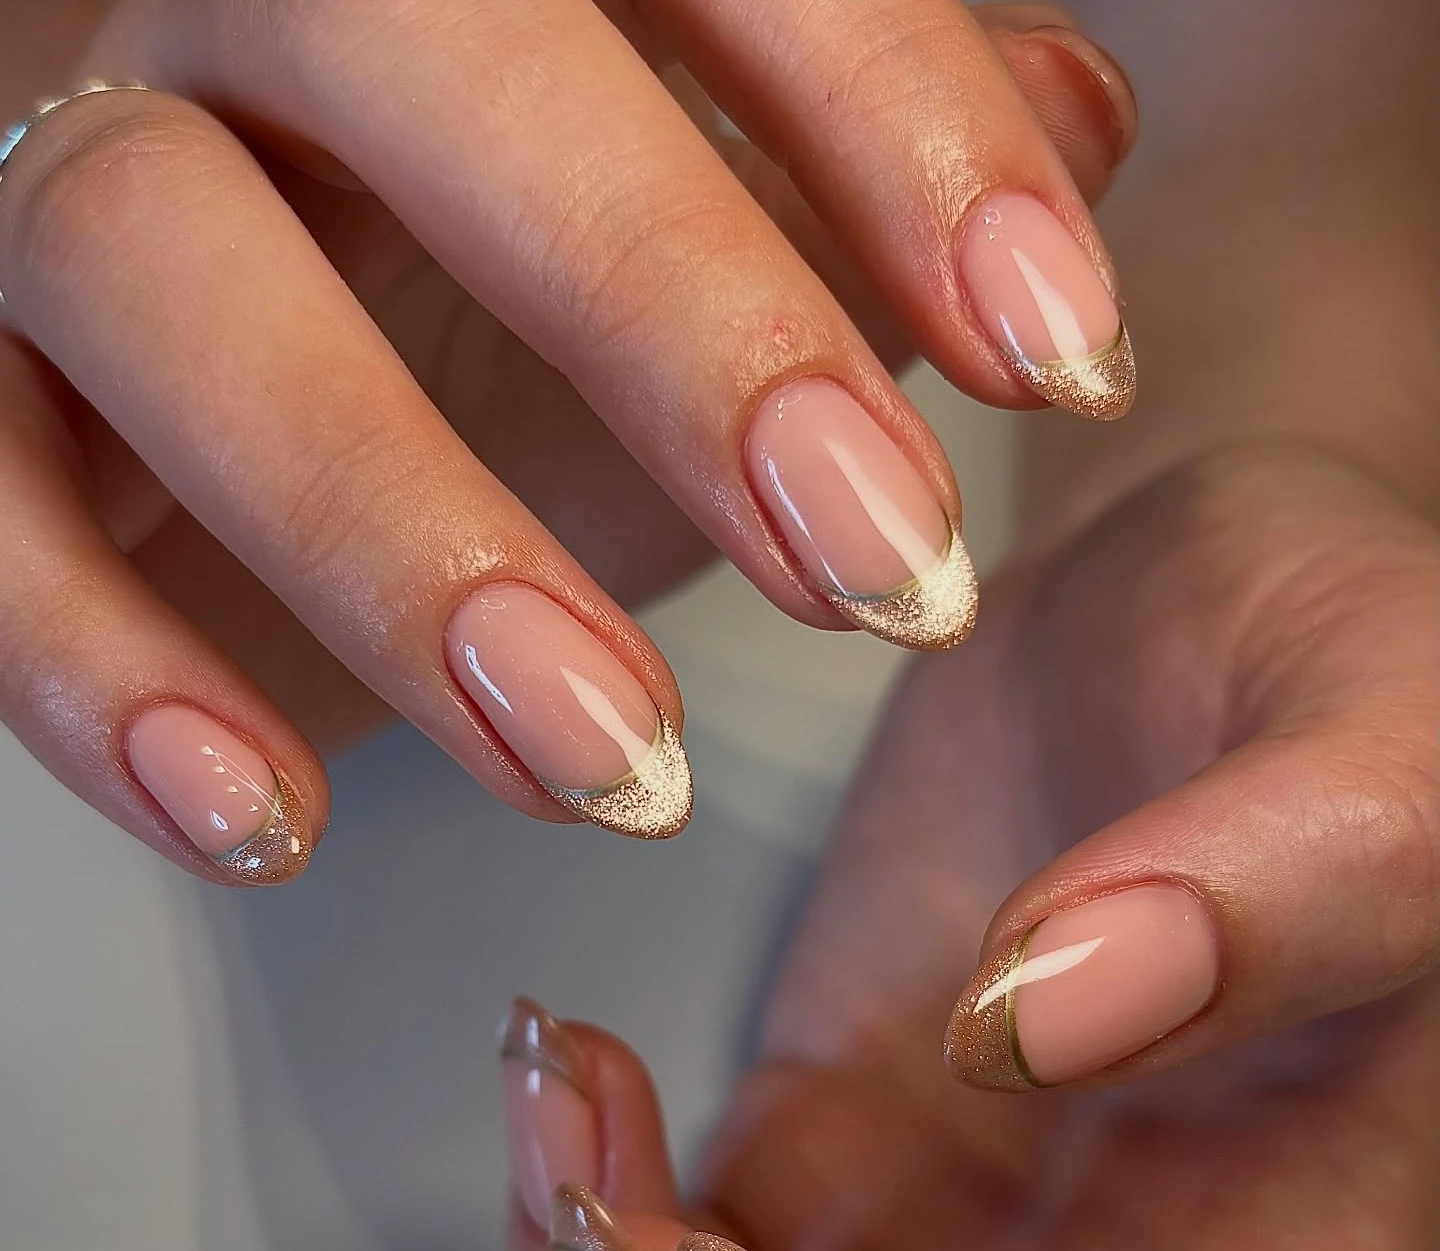
How to Do a French Manicure at Home (That Actually Looks Salon-Done)
Okay, real talk you’ve been staring at your bare nails, dreaming of that crisp, clean white tip, but every time you try it at home it ends up looking like you painted them with your non-dominant hand… blindfolded… in the dark.
Been there. Done that. Cried a little.
But here’s the thing nobody tells you: a flawless French manicure isn’t about having “steady hands.” It’s about having the right tricks. And once you know them? You’ll never drop $50 at the salon for something you can nail (pun very much intended) at home in under an hour.
Let’s get into it.
What Makes a French Manicure Look “Salon-Done” vs. “DIY Disaster”
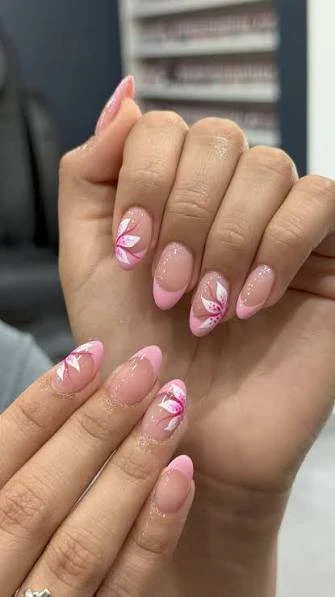
Source: tickticktimenailsandspa
Here’s the cold hard truth: the difference between a salon French manicure and a wobbly home attempt usually comes down to three things: nail shape, tip thickness, and the pink base.
Most people obsess over the white line and ignore everything else. But if your nail shape is uneven, your base is too sheer (or too pink-pink), and your tips are thick and blobby? No amount of precision on that white stripe will save you.
The French manicure is basically 80% prep and 20% white tip. Keep that in your brain as we go.
Everything You’ll Actually Need (No Fancy Equipment Required)
You don’t need a UV lamp, a nail drill, or a $200 gel kit. Here’s your real toolkit:
The Non-Negotiables:
- A sheer pink or nude base polish (your “skin but better” shade)
- A white nail polish, thin formula preferred (thick white = disaster)
- A fast-dry topcoat (this is your best friend, treat it accordingly)
- A thin nail art brush OR French tip guides/stickers
- Acetone and a small angled brush OR Q-tips for cleanup
- A nail file, fine grit, 180 or higher
- A buffer block (the kind with multiple sides)
The Game-Changers Most People Don’t Know About:
- Nail tape or reinforcement stickers (from any office supply store, yes, really). These create a perfectly straight guide line and cost basically nothing.
- A white eyeliner pencil, more on this in a sec.
- Thin nail polish remover in a small dish for your cleanup brush.
Skip the cheap drugstore white polish if you can. It streaks, it’s thick, and it’ll have you doing six coats and still looking patchy. One solid thin-formula white makes the whole thing easier.
Prep Like a Pro – The Step Everyone Skips
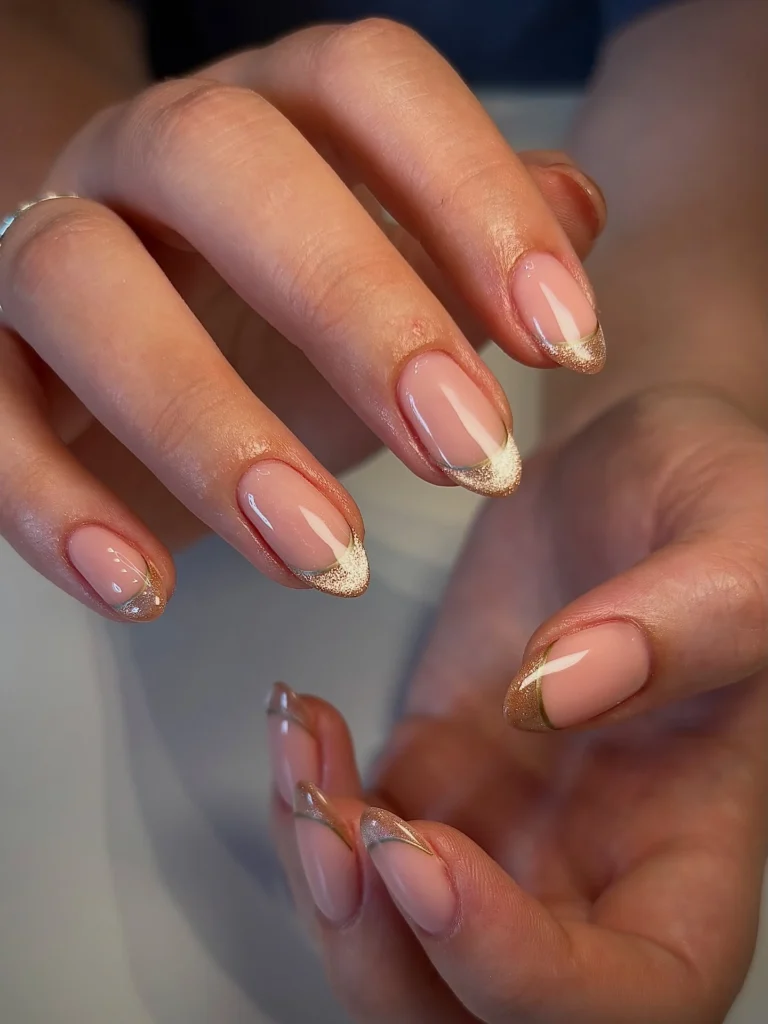
Source: sophiemaybeautyx
If you skip this section, I will haunt your manicure. I’m serious.
Step 1: Shape First, Always
File your nails before anything else. The classic French tip shape is either oval or square with soft corners (sometimes called “squoval”). Pointy or round nails can work too, but if your tips are different shapes from finger to finger, your white line will never look even because you’re fighting against the nail itself.
File in one direction only. Sawing back and forth weakens the nail and causes peeling. One direction, gentle strokes. That’s it.
Step 2: Push, Don’t Cut, Your Cuticles
Soak your fingertips in warm water for 2 minutes or apply a cuticle softener. Then use a rubber-tipped cuticle pusher to gently push them back. Cutting cuticles at home = infection risk + ragged regrowth. Pushing them back = clean nail bed + more nail visible = longer-looking nails for free.
Step 3: Buff the Surface
Use the buffer block to lightly smooth the surface of your nails. Not aggressively, just enough to remove ridges. A smooth surface = no bubbles in your polish, no streaks in your tip.
Step 4: Wipe With Acetone
Take a cotton pad with regular acetone and wipe every single nail. This removes the dust from filing, any oils from your fingers, and any leftover moisturizer. Oils are the enemy of adhesion. Your polish will peel within a day if you skip this. Wipe. Them. Down.
Step 5: Base Coat (Yes, Even for This)
Apply a thin layer of base coat and let it dry completely. This protects your nails from staining and gives the polish something to grip onto. Clear, boring, essential.
The White Tip: 4 Methods From Easiest to Most Precise
This is the moment you’ve been waiting for. Pick your method based on your skill level and patience tolerance.
Method 1: The French Tip Sticker Guide (Best for Beginners)
This is genuinely the cheat code nobody talks about enough.
Apply your pink/nude base, let it fully dry (this is non-negotiable, wet base under a sticker = smeared mess). Press a French tip guide sticker just below where you want the white line, pressing down the edge firmly.
Paint your white tip above the sticker in 1-2 thin strokes. Wait 60 seconds, then slowly peel the sticker back at a low angle while the polish is still slightly tacky. Remove it too late and it pulls the polish with it. Too early and the line bleeds. Sixty seconds is your sweet spot.
The trick most tutorials miss: After peeling, you’ll sometimes see a slightly uneven edge. Use your cleanup brush dipped in acetone to sharpen the line immediately while it’s still soft. Takes 10 seconds and makes it look razor-perfect.
Method 2: The Freehand Swipe (For the Brave)
Load a thin brush with white polish (the kind that comes with the bottle is usually too fat, get a separate nail art brush with a fine, flat tip).
Rest your painting hand’s pinky on the table for stability. Tilt your nail toward you and, in one confident stroke, swipe the brush across the tip in a slight smile curve. Don’t dab. Don’t go back over it. One stroke, slightly curved, done.
The smile curve is the secret. A straight line across the tip looks fake. A gentle curve that follows the natural shape of your nail bed looks real.
Method 3: Nail Tape (The Office Supply Hack)
Those little round reinforcement stickers for hole-punched paper? Cut one in half. Press the curved edge along the smile line of your nail. Paint above it. Peel carefully. You just used a $2 office supply to get a salon line. You’re welcome.
Method 4: The White Eyeliner Trick (The Hidden Gem)
This one is genuinely genius for when you want a super quick, soft French tip. Take a white eyeliner pencil, sharpen it, and draw along the underside of your nail tip, the free edge. Then top the whole nail with a sheer pink and a glossy topcoat.
It won’t last as long as actual polish on top, but for a “barely there” French tip when you’re running out the door? Perfect. Zero stress.
The Secret to That “Glass” Finish Topcoat
Here’s what separates a home manicure that looks professional from one that looks… not:
The topcoat technique.
Most people dab topcoat onto their nails like they’re painting a fence. Wrong. Apply it in long, fluid strokes from base to tip. Then, and this is the part nobody talks about, wrap the tip. Swipe the brush along the very edge of your nail tip. This seals the white polish, prevents chipping from the tip inward, and adds that satisfying glass-smooth finish.
Apply two thin coats of topcoat rather than one thick one. Thick topcoat stays soft and dents easily. Two thin coats = harder, shinier, longer-lasting.
Let it dry for at least 10 minutes before doing anything: dishes, texting, putting on shoes. I know you’re impatient. Fight the urge.
How to Make It Last 7+ Days Without Chipping
A salon gel manicure lasts because of the curing process, not because the products are magic. You can get close with regular polish using these habits:
At Home:
- Apply a thin layer of topcoat every 2-3 days. This refreshes the shine and reseals any micro-cracks before they become full chips.
- Put on gloves for dishes and cleaning. Soap and hot water are the number one killers of manicures. It takes 10 seconds to grab a pair of rubber gloves. Just do it.
- Moisturize your cuticles daily. Dry, cracked cuticles lift polish at the edges faster.
The Sneaky Tip:
When your topcoat starts looking dull around day 4 or 5, add a fresh coat instead of redoing the whole manicure. Most of the time your base is still perfect. It’s just the shine that’s gone. A fresh topcoat coat on day 5 can stretch your manicure to day 9 or 10.
Video Credits: Jessica White
Final Thoughts
A perfect French manicure at home isn’t about having some rare natural talent or a surgeon’s steady hands. It’s about knowing the steps that actually matter: nail shape, prepped surface, the right method for your skill level, and a topcoat you actually respect.
Start with the sticker guides if you’re new to this. Move to freehand once you’ve done it three or four times and built your confidence. Try the white eyeliner trick when you need something in five minutes flat.
Most of all? Don’t rush the drying time. That’s genuinely where 80% of home manicures fall apart. Give your nails the time they need, and they’ll reward you with a manicure that has people asking which salon you went to.
And when they ask? Just smile and say, “Oh, I did it myself.” Because you did and it looks incredible.